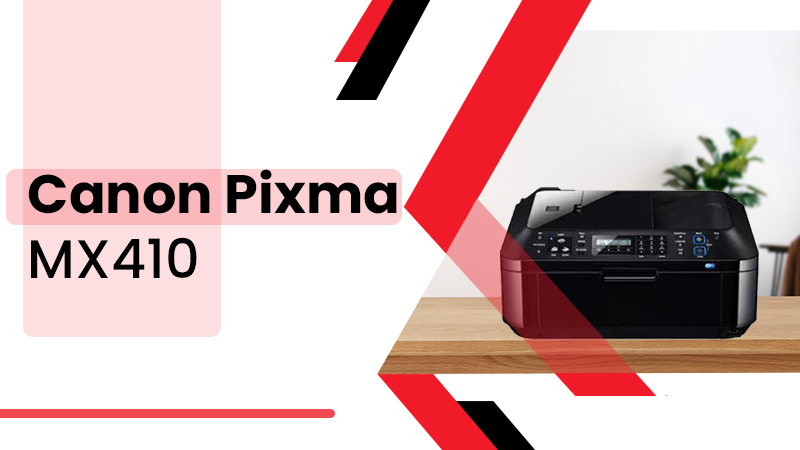
A Guide for Canon Pixma MX410 Wireless Printer Setup
Have you owned the Canon Pixma MX410 Wireless Printer? Well, what would be next step after getting the credibility of being its user? The first wishes come up in your mind is to take the printing outcome after the settlement of this printer setup. In case you do not have the in-depth knowledge of hardware and networking subject domain, then you must glance over installation software shipping service with the model name referred as the Canon PIXMA MX 410. This is highly useful for wireless network setup. This article holds the full guide to Canon Pixma MX410 Wireless Printer Setup. In case you do not have much knowledge for setup of it, then our talented helps you a lot.
What happens while skiing the wizard part?
What will you do in case you skip the wizard part and do not know access point on every moment? Obviously, the conventional option is that you must use the Canon IJ network tool to connect printer with the co-ordination of Wi-fi hot spot. The configuration of this link might be easy provided that you hold the clear understanding of encryption key and safety key of the wireless network. If you have any confusion how to set up Canon Pixma printer, then you must ask the help will canon support team. They will clearly declare what precaution would be considered.
Let us it is turn of canon mx 410 setup?
- First of all, you must approach on notification area of network connection icon. Here, you would have to select the list of wireless network and click on connect button.
- You must right click on network connection area and select the view connection properties from the contextual menu. Here, you must select show character option.
- Jolt down the information available beside the security type, encryption type as well as network security key and click on cancel button.
- Data cable contains two extreme points. It is sure that you must connect one end of cable with numbered port from the backside of router and connect the second end with printer.
- Having pressed windows key along with q, a search bar will appear and here, you must text IJ network tools. You must choose the IJ network tools from different outcomes.
- Plug in printer in order to take the activation of printer in Canon IJ network tool. After a while, you must press the update option.
- Now, you would have to select the PIXMA MX 410 button and press the configuration. After that you have to select the wireless LAN section and fill the access point later.
- Click on search option and select all outcomes related to suitable network and then select set.
- From the dropdown of encryption method, you must have to shortlist the safety protocol.
- After determining the security key, you must click on configuration and follow the steps on screen. The steps can be differ from encryption method.
- Having completed configuration, you ought to close windows. Here, you can get the IP address automatically and press then ok.
- Insert blank paper sheet into tray and press menu to reach on device setting of control panel.
- Now, you would click on LAN setting from different pad options and click on ok button. Get the print copy of your detailed work.
Conclusion: According to my view points, above steps for the settlement of Canon Pixma MX410 wireless printer step up. If you are still unsatisfied regarding the configuration and setting of Pixam printer, then you can approach our third party professional teams to get most revered guidance in define time. For knowing more information, you can surf our web address.
