How To Do Canon PIXMA MG3520 Wireless Printer Setup?
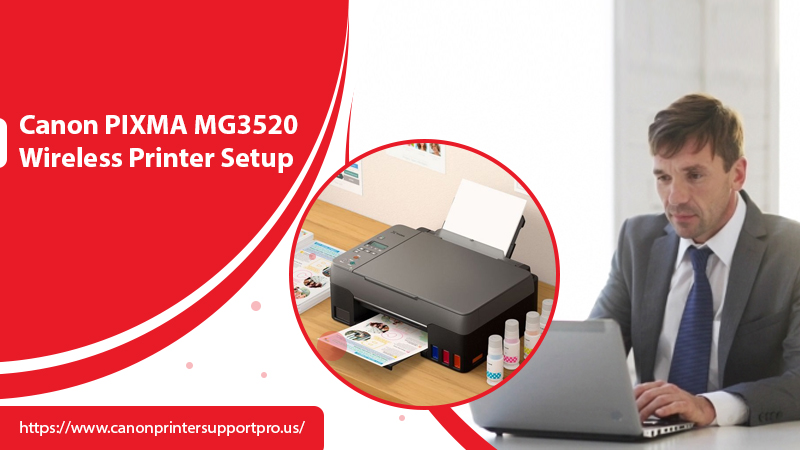
Canon PIXMA MG3520 is an all-in-one attractive and Compact Inkjet Photo Printer proffering amazing print quality and superb convenience from anywhere at your home or office. It starts with Wi-Fi technology which enables you to wirelessly print and scan from anywhere around your either home or office. MG3520 also supports Google Cloud Print and Apple AirPrint in addition to fine printing, quick scanning and high quality print services. You can obtain Canon Support for knowing proper guidelines to setup your Canon PIXMA MG3520 wireless printer. The highly proficient and deft engineers work to deliver right solution in a right way at your doorstep.
However, AirPrint is a great function that lets you print wirelessly straight from the touches of iPhone, iPad and iPod. In addition, MG3520 also offers Auto Power On function which is a beneficial feature and will adjust the document or picture into the printer automatically whenever you submit it to print. And also you can simply replace the cartridges or simply add a paper with FastFront function all done from the printer’s front.
Required Steps To Do Canon PIXMA MG3520 Wireless Printer Setup
Before going to start a Canon printer setting up procedure, few conditions noted below must meet:
- There should be a physical WPS push button available. Just check with your device’s user guide for details
- If the WPS push button is not available, use the instructions in the Standard Connection Method section
- Your network must be using either WPA (Wi-Fi Protected Access) or WPA2 security protocol. Most WPS enabled access points use this protocol
Let’s Begins The Setup Process
- First of all, you should be assured that the printer is turned-on
- Now, press and hold the “Maintenance” button on the printer for at least couple of seconds
- Now, make sure that the LED flashes
- After that, press the “Fit to Page” button
- Make sure that the LED flashes and then press the WPS button on your access point for a couple of minutes
- Once the wireless connection process is done, the LED lights up for almost few seconds, then changes to “1”. Make sure that the (blue) Wi-Fi lamp on the printer is also lit
Network Settings Confirmation
To ensure that your printer is successfully connected to your wireless network, you need to print the document. To do so, follow the below steps
- Make sure that your printer is turned on
- Load a sheet of A4 sized plain paper into the paper tray
- Press the “Maintenance” button continuously until the LED appears
- Press the “Colour” button or the “Black” button
Direct Contact To Canon Support Team For Effective Solution
If the WPS “Behave More Sexually:” How Big Pharma Used Strippers, Guns, and Cash to Push Opioids – Mother Jones npp steroid anabolic steroid cycle for beginners, anabolic steroid law in pa | wireless setup is still failing after following the above guidelines, then you should instantly contact us via dialing Canon Support Number for further assistance. We have a team of qualified and experienced techies working hard all round the clock to support you at any condition.
