A Guide to Fix the Canon Printer Printing Blurry Issue
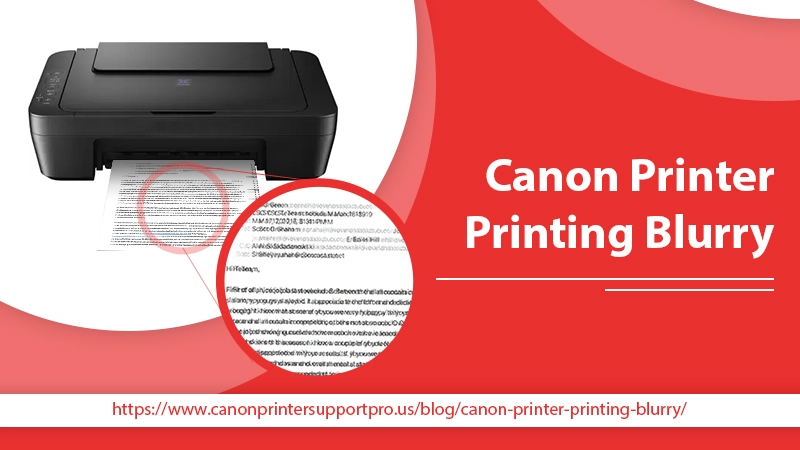
Nobody desires to give a print command only to see a smudged and distorted output. Although Canon is a great printer brand, its devices do run into trouble sometimes. When you find Canon printer printing blurry, it’s normal to get confused, especially if you don’t know how to fix the quality of output.
The main cause for this issue is an obsolete printer driver or an ink shortage. But sometimes, even after replacing the cartridge, you may find inaccurate or bleeding colors in the output. In this guide, you’ll find some proven ways to make your printer produce quality output.
Fix the Canon Printer Printing Blurry Problem
The easy methods below will help you troubleshoot this issue from the root.
1. Update printer drivers
Corrupt printer drivers can cause various printing issues. If you wonder why is my Canon printer printing blurry, check and update the driver.
- Head to Windows ‘Start’ area.
- Here, input ‘device manager’ and move to its location.
- Right-tap ‘Device Manager,’ and select the ‘Update driver’ option.
- Select the ‘Automatic’ option.
- In case you’ve manually downloaded the driver update, opt for manually installing them.
2. Examine the ink status from your system
If you find your Canon Pixma printer printing blurry, examining the ink levels is a good step.
- Launch the ‘Driver setup’ window of your printer.
- Open the ‘IJ Status Monitor’ of Canon.
- Head to the ‘Maintenance’ tab.
- Here, select the ‘View printer status’ option.
- To find the estimated ink levels, tap the ‘Disclosure’ triangle.
- It will show the ink status’s image representation.
3. Clean Canon printhead nozzles
You can undertake a deep cleaning of the printhead if you find that Canon printer prints blurry.
I. Steps for Windows users
- Turn on the printer and launch ‘Printer Properties.’
- Go to the ‘Maintenance’ tab.
- Hit the ‘Deep Cleaning’ option.
- Choose the ink group that you want deeply cleaned.
- Tap ‘Execute.
- Click ‘OK’ on the message that appears.
- The deep cleaning process will begin when your power lamp flashes green.
- It will take two minutes.
- During this duration, do not carry out other operations.
- Check the printhead’s condition and print a nozzle check pattern.
- You won’t find any issues in the quality of the output.
II. Steps for Mac users
- Turn on your printer.
- Launch the dialog box, ‘Canon IJ Printer Utility.’
- Choose ‘Cleaning’ in the pop menu.
- Tap ‘Deep cleaning.’
- Choose the ink you want to clean and hit ‘OK.’
- The cleaning process will begin when the power lamp flashes green.
- After it finishes, examine the printhead condition.
- Print a nozzle check pattern to assess the output.
4. Install the FINE cartridge properly
Another cause of Canon Pixma blurry print is improper installation of the FINE cartridge.
- Open the printer’s output cover.
- Remove the FINE cartridges.
- Now, install them again.
- Push them till they click into their positions.
- When you’ve installed the cartridge correctly, close the output cover.
- Give a printing command.
5. Align the Canon printhead
Adjusting the printhead’s position by aligning it is another fix for Canon printer printing blurry problem. Before aligning the printhead, ensure to use white paper that’s clean on both sides.
- Turn on your Canon printing machine.
- Now load letter-sized or A4-size plain paper in the printer’s rear tray.
- Take out the paper output tray and its extension.
- Keep holding the ‘Stop’ button till you see the alarm lamp flashing four times.
- After that, release the button.
- The print of the printhead alignment sheet will come out.
- Ensure not to touch any printed part on the alignment sheet of the printhead.
- A stained or wrinkled sheet won’t get scanned.
- In case the alignment sheet doesn’t print correctly, hold the ‘Stop’ button.
- After that, carry out the entire process again.
- To adjust the position of the printhead, scan the printhead alignment sheet.
- Load the sheet on the platen glass.
- Ensure to load the alignment sheet with its printed side facing down.
- Align the mark of a right-angle triangle on the sheet’s bottom-right part with the alignment mark.
- Close the cover of the document.
- Now hit the ‘Black’ or the ‘Color’ button.
- Your printer will start scanning the alignment sheet.
- The position of the printhead will get automatically adjusted.
6. Fix Canon printer printing lightly
Another problem related to Canon Pixma blurry print is the printer giving a faded print. It may occur because of using paper with a lot of dust. To fix it, head to ‘Settings’ and choose ‘Special printing Mode G.’ Now turn it ‘On.’
Another cause behind a faded print is when the printer prints on paper with a rough surface. Head to ‘Settings’ and choose ‘Special Printing mode Q.’ Turn it on.
7. Reset Canon printer
Resetting the printer restores it to its previous functionality. It’s is a good fix to use when your Canon printer prints blurry. You can reset canon printer in various ways.
I. Power reset Canon printer.
- Power off the printer.
- Ensure to disconnect the device completely.
- Plug back the cable in its socket and turn on the printer.
- Link your printing device to the Ethernet cable.
- Now give a print command and examine its quality.
II. Perform an ink reset
Canon Inkjet printers come with a chip that alerts you about low ink levels. In this case, you must perform an ink reset and not refill the cartridge.
- Remove the cartridge from the printing device.
- Insert the cartridge in the main channel of the printer ink resetting mechanism.
- Now, check whether the chip in the ink cartridge is operating correctly.
- It must contact the plate on the resetting tool.
- Hold the cartridge till the LED light on the chip resetter flashes.
- After the LED light becomes stable, remove the cartridge.
- Perform this sequence on other ink cartridges that you think need a reset.
- After that, install the ink cartridges in the printer.
- Perform a test print and check the quality of the printout.
III. Hard reset your Canon printer
You can also restore your Canon printer to its default confirmation when you find that the Canon printer prints blurry.
- Locate the ‘Stop’ button on the printer.
- Press and hold it till the alarm rings.
- Now, hit the ‘Start’ button after the alarm flashes.
- Your Canon printing device is back to its factory setup.
- Uninstall the drivers from the computer.
- Reinstall the latest ones from the official Canon support website.
- After completing this process, your Canon printer is ready to give you a quality output.
Get Quality Output from Your Canon Printer!
We hope you gained many insights into resolving the Canon printer printing blurry issue through this post. It is a very common problem. But by checking ink status, updating drivers, and cleaning printhead nozzles, you can resolve it. However, if you still find no improvement in the print quality, it points to a hardware problem. In this case, you can consult a printer technical expert.
